Follow the steps below to add new products to the company website:
- 1. Check Product
- 2. Start New Product
- 3. Add Product Title
- 4. Add Short Description
- 5. Add Product Price
- 6. Add Inventory Info
- 7. Add Shipping Info
- 8. Add Attributes
- 9. Add Product Category
- 10. Add Main Image
- 11. Add Other Images
- 12. Publish Page
- 13. Update Title
- 14. Prepare for eBay
- 15. Training Demo
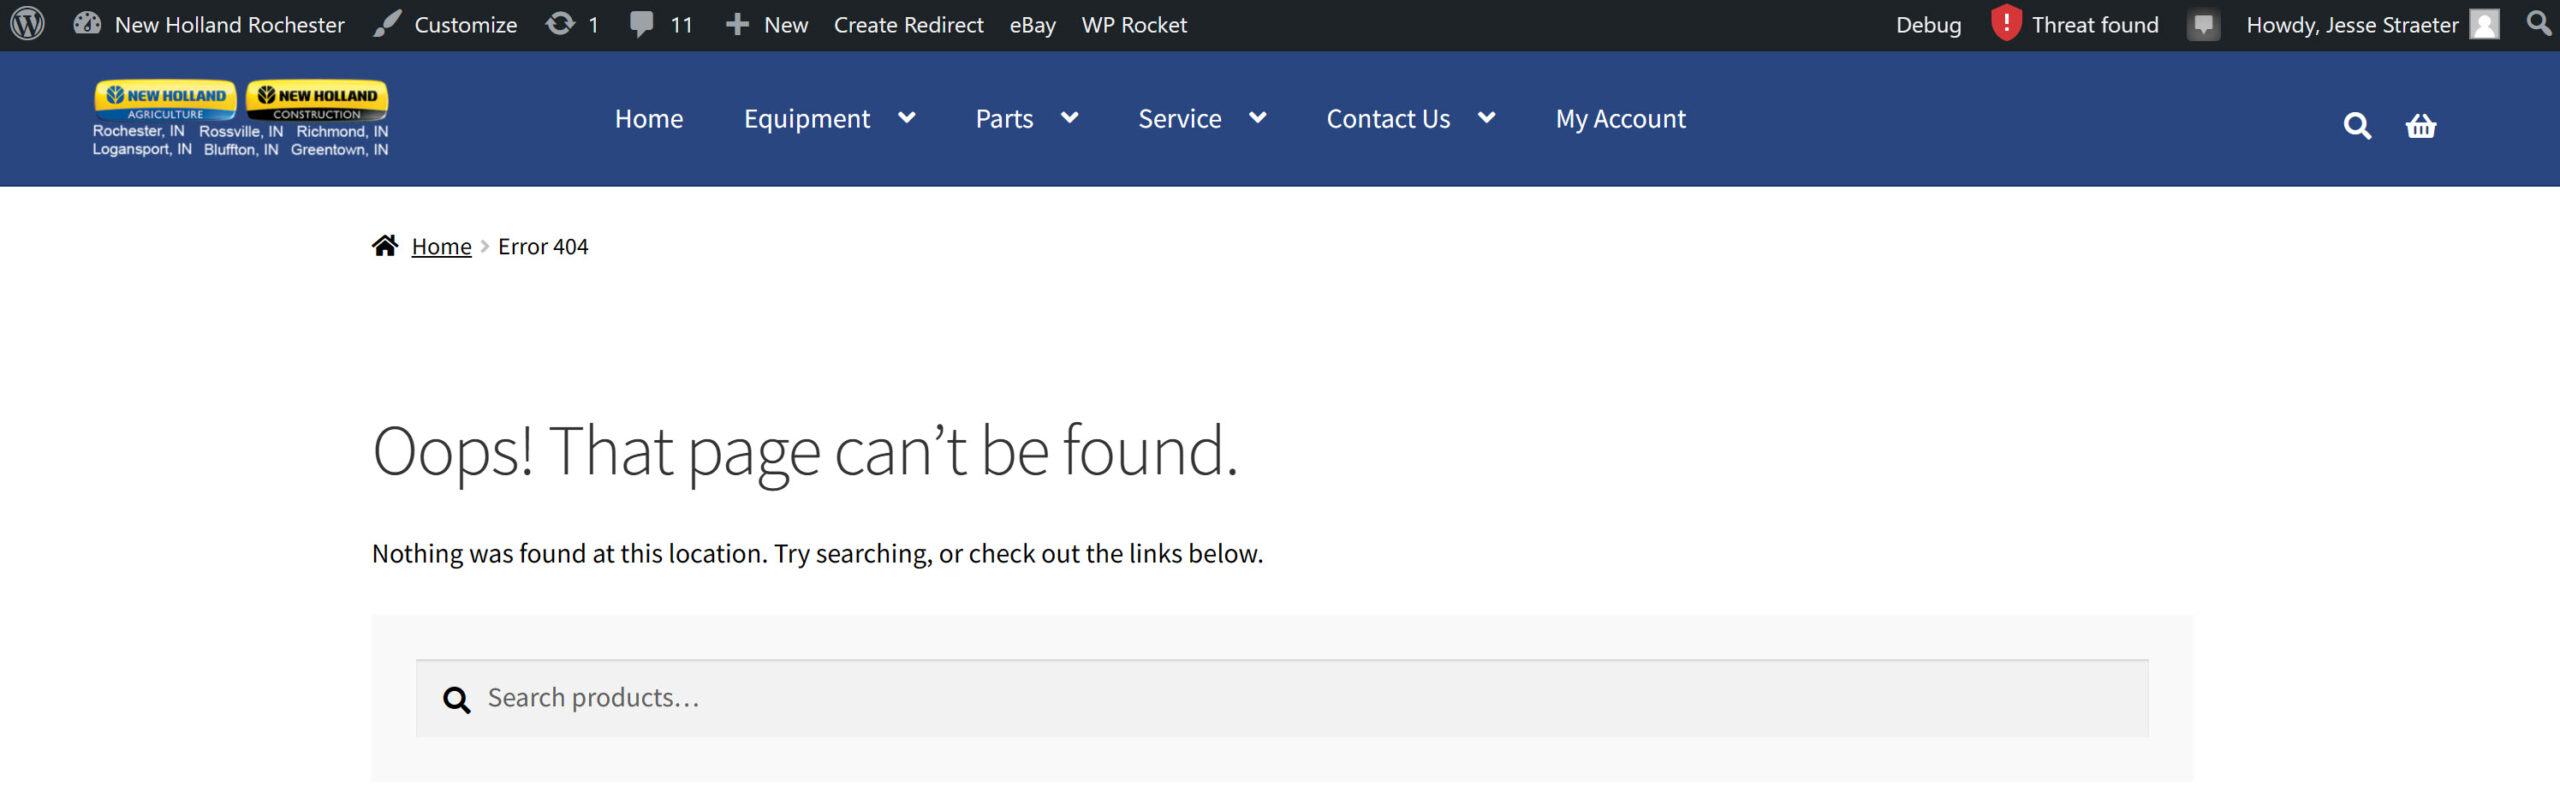
Check to verify that the part is not already on the website. To do this, browse to newhollandrochester.com/shop/part#goeshere. So for example, to check if part # 21.71610 is on the website, visit newhollandrochester.com/shop/21.71610.
If the page that comes up shows a message such as “Oops! That page can’t be found.” then it does not already exist.
Browse to the admin menu bar and go to “+New -> Product”. If you do not see this menu bar, you need to log into the website. You can do this by clicking on the "My Account" tab on the main menu and log in there.

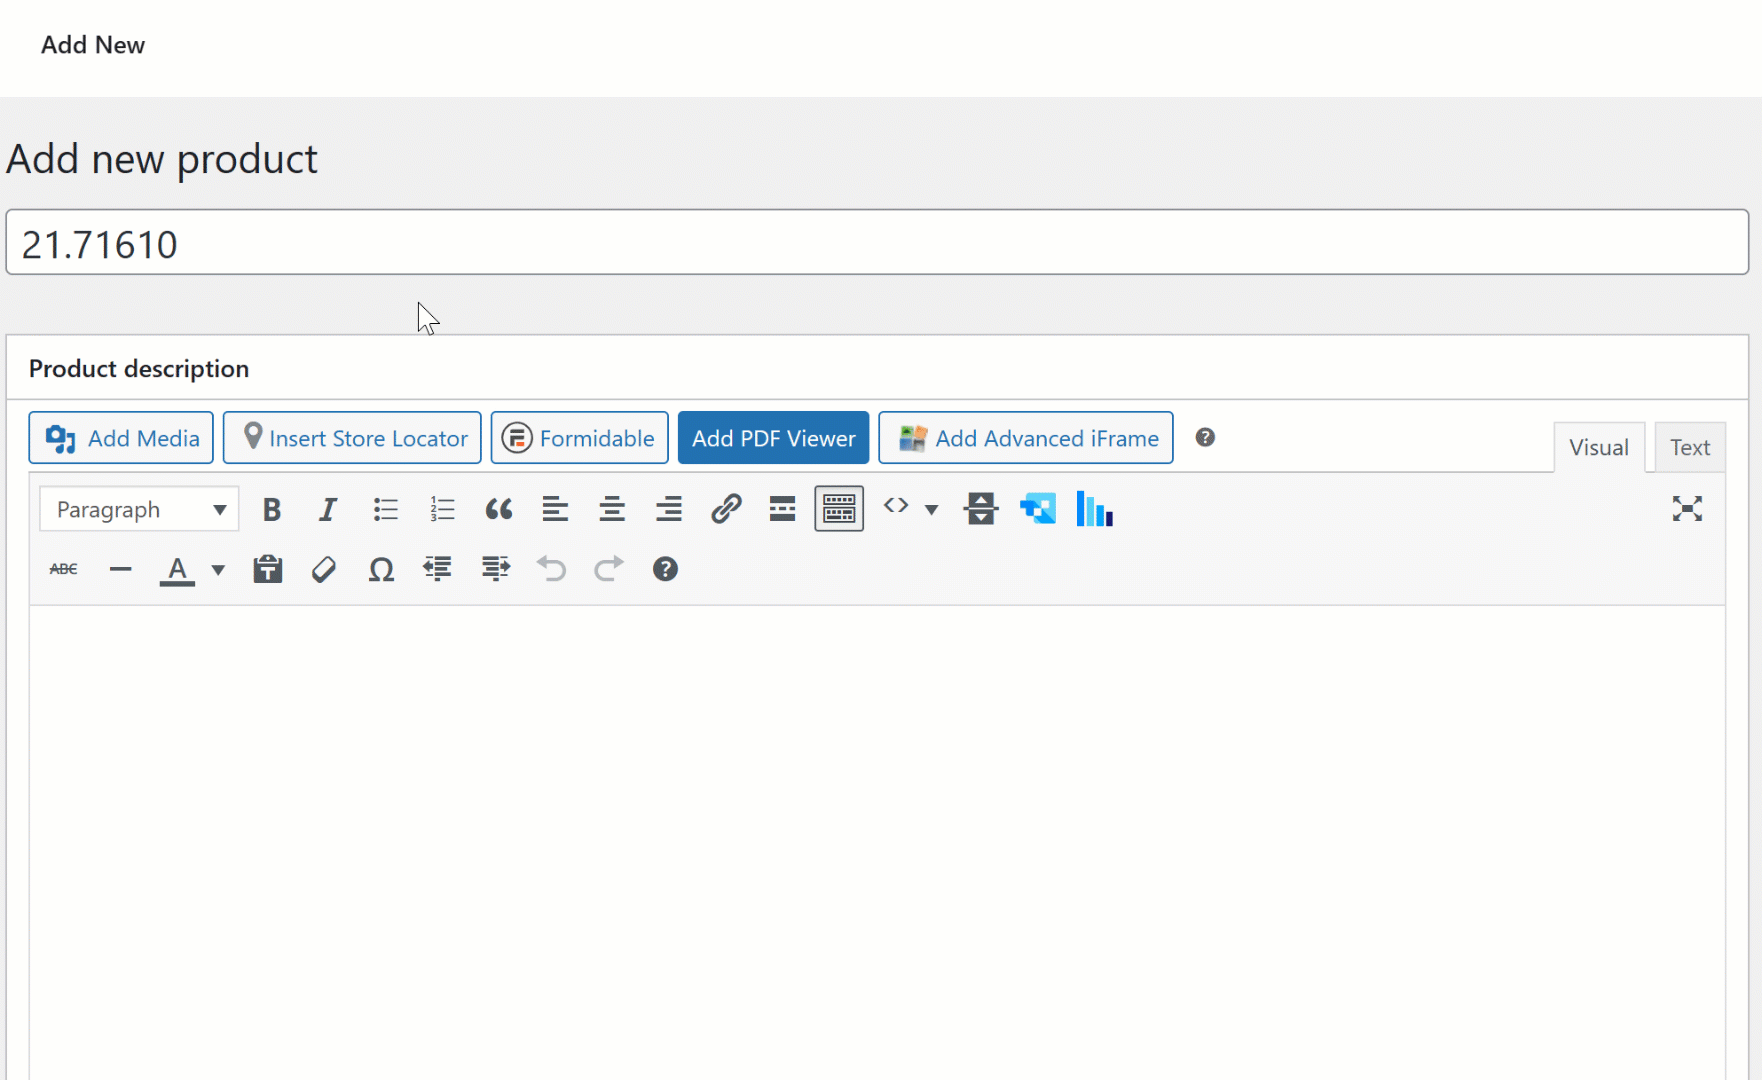
Enter the part # in the Product name field.
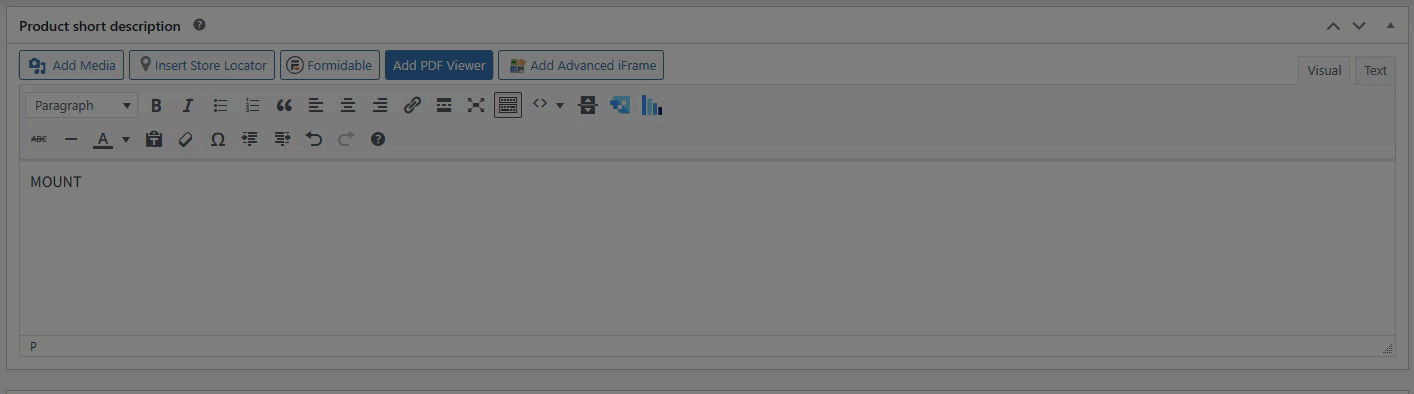
Scroll down to the Product Short Description field and enter in a short description for the product. Generally, what can be entered in here is the same description that would be on the part profile description field in Intellidealer and consists of only one or two words.
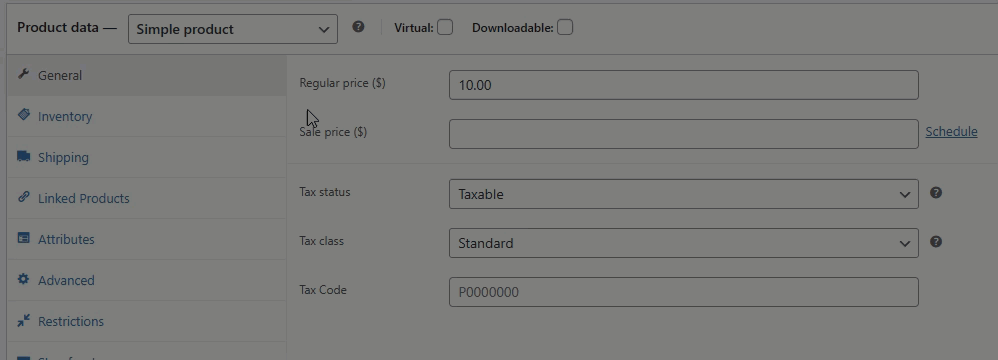
Scroll down to the Product Data section and enter the sale price of the part into the Regular price ($) field. You can find the sale price for the part from the part profile page in Intellidealer.
Click on the Inventory tab in the product data section and enter the part # in to the SKU field, check the Manage stock level box, enter the current quantity on hand, and select "Allow, but notify customer" option for Allow backorders.
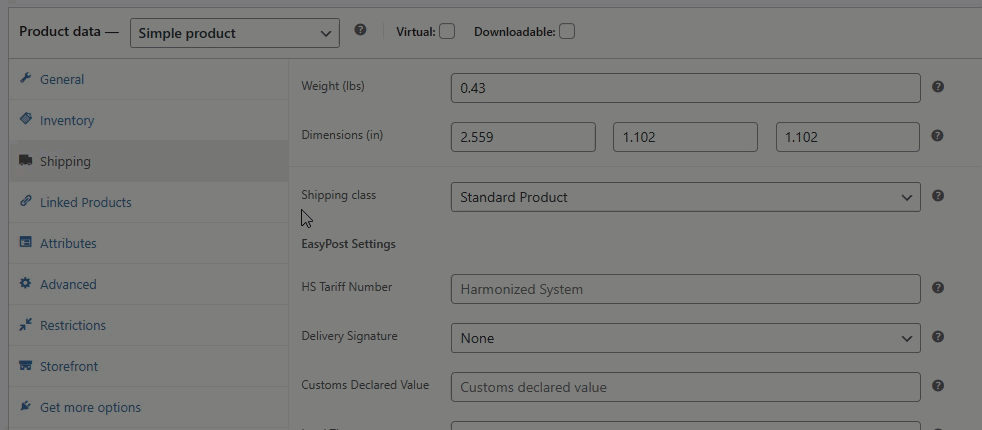
Click on the Shipping tab and enter in the product weight, dimensions, and appropriate shipping class.

- For the product weight, a minimum of 0.10 needs to be used as that is the minimum weight that eBay allows. You can find the product weight from the either the part profile page in Intellidealer, actually weighing the product yourself, or through the manufacturer's website on the part profile page (i.e. CSPS for New Holland).
- For the product dimensions, you can find this either from the manufacturer's website (i.e. CSPS for New Holland) or by measuring the dimensions yourself (or if the situation calls for it, use an approximation if necessary).
- For the shipping class, any regular product (99% of the time) will use the Standard Product shipping class. Hazardous items such as paint and oils would use the Hazardous Product option. We have had some issues with USPS for certain types of heavier parts such as mower blades to where we started using the UPS Only option.
Browse to the Attributes section. Search for the Manufacturer attribute, then search for the appropriate manufacturer and then click the Save attributes button.
If the manufacturer does not appear, you can click the Add New button to add them in.
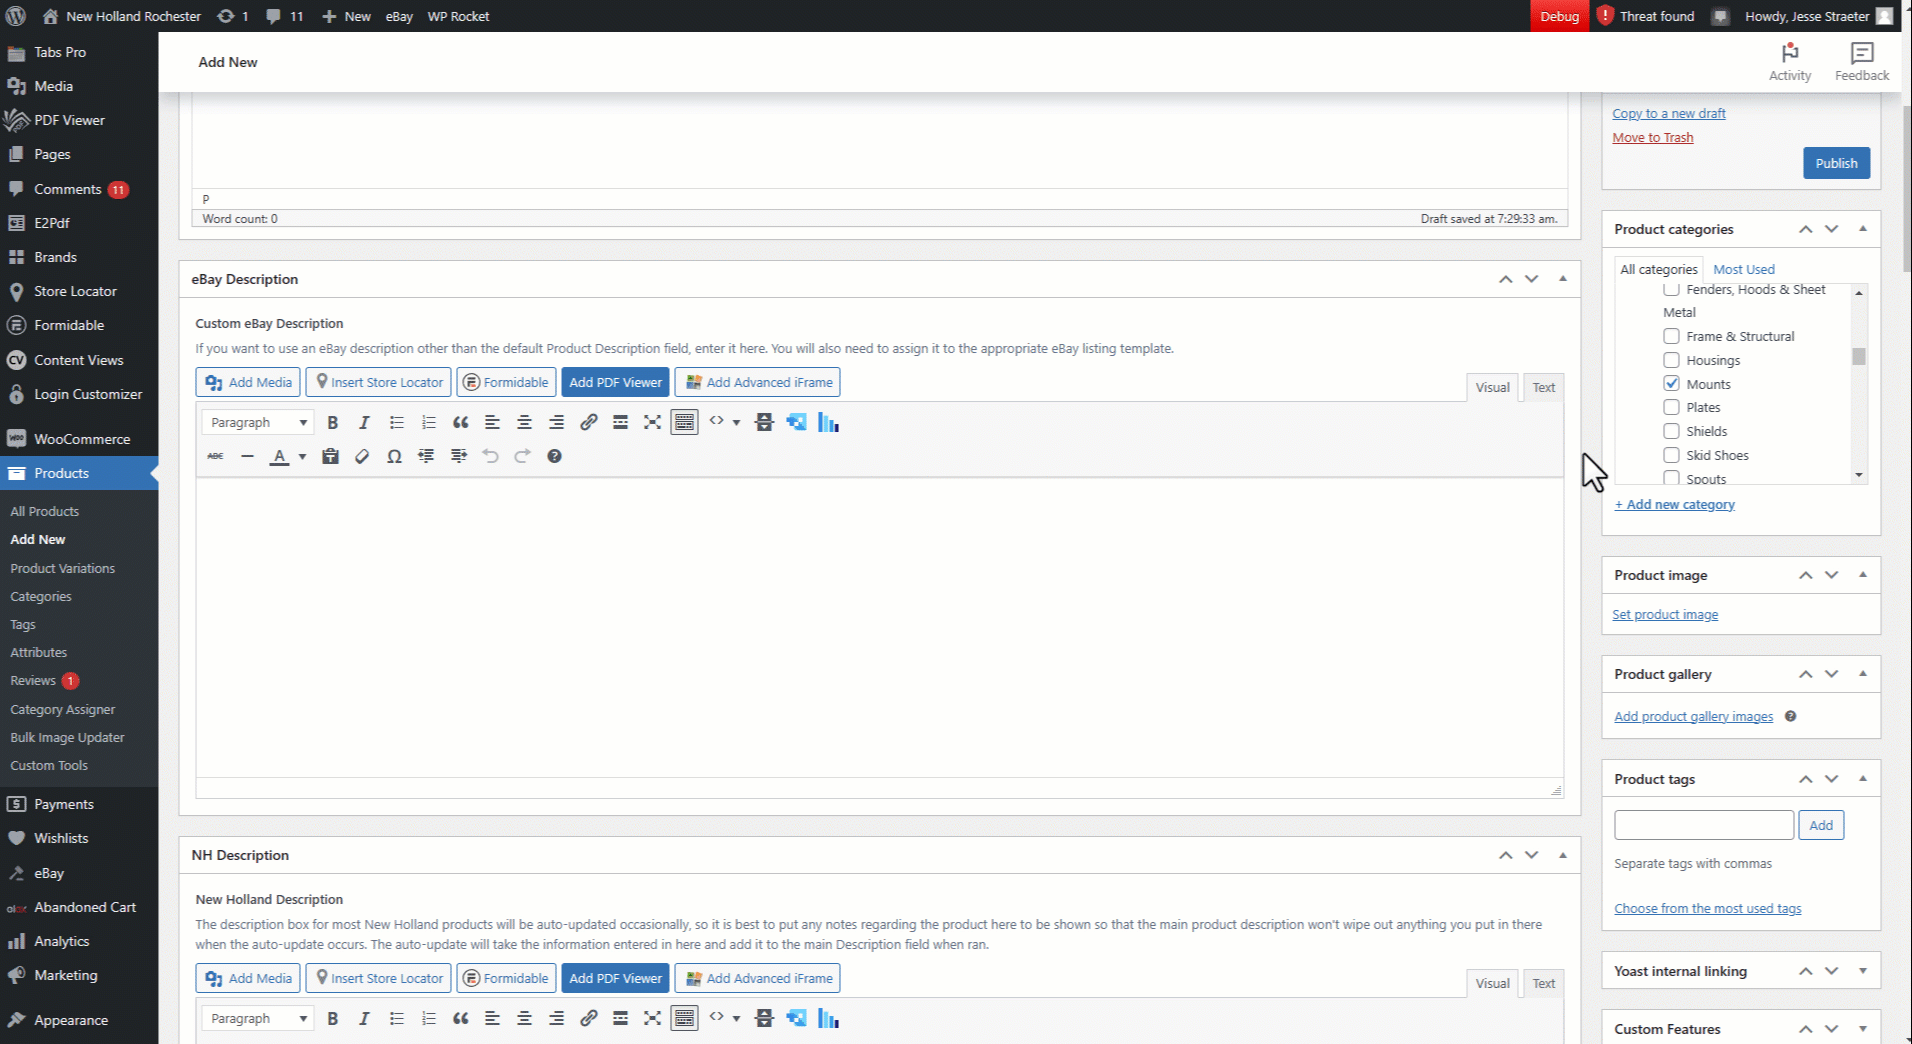
Scroll up to the Product categories section on the right-hand side and select the proper category.
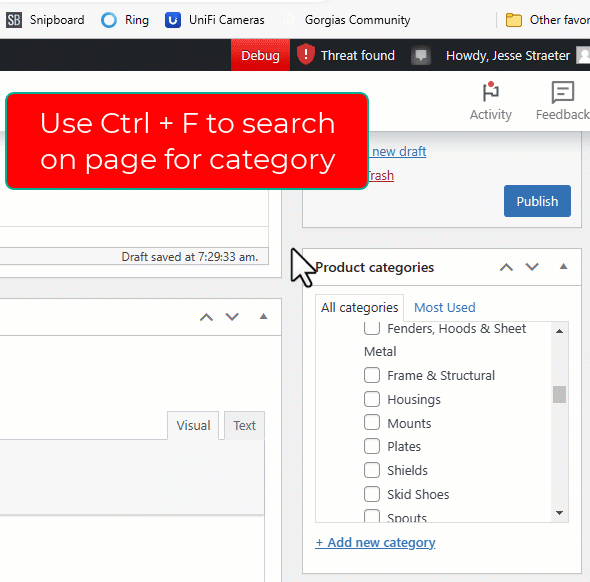
There are many product categories, with several subcategories. Generally, the quickest way to find a category is by pressing Ctrl + F on the keyboard to open the Find search box, and searching for the category that way. The general structure of the product categories is:
All Equipment
-> Equipment subcategories
All Parts
-> Parts subcategories
As a general rule, we only select one category option per product. For example, you may know that a bolt is used on certain planters, but instead of checking Hardware, Bolts (a subcategory under Hardware) and Planters, it would be most appropriate to check the Bolts category under the Hardware section assuming that is where a person would most commonly look for this product. If you are uncertain which category to select, it is a good practice to look where the part is used and on what machines using the manufacturer's parts catalog system to get a better understanding of what is the most appropriate category to select.
Please do not add any new categories without permission first. For a full list of current categories that is easier to see, you can view them on a spreadsheet here:
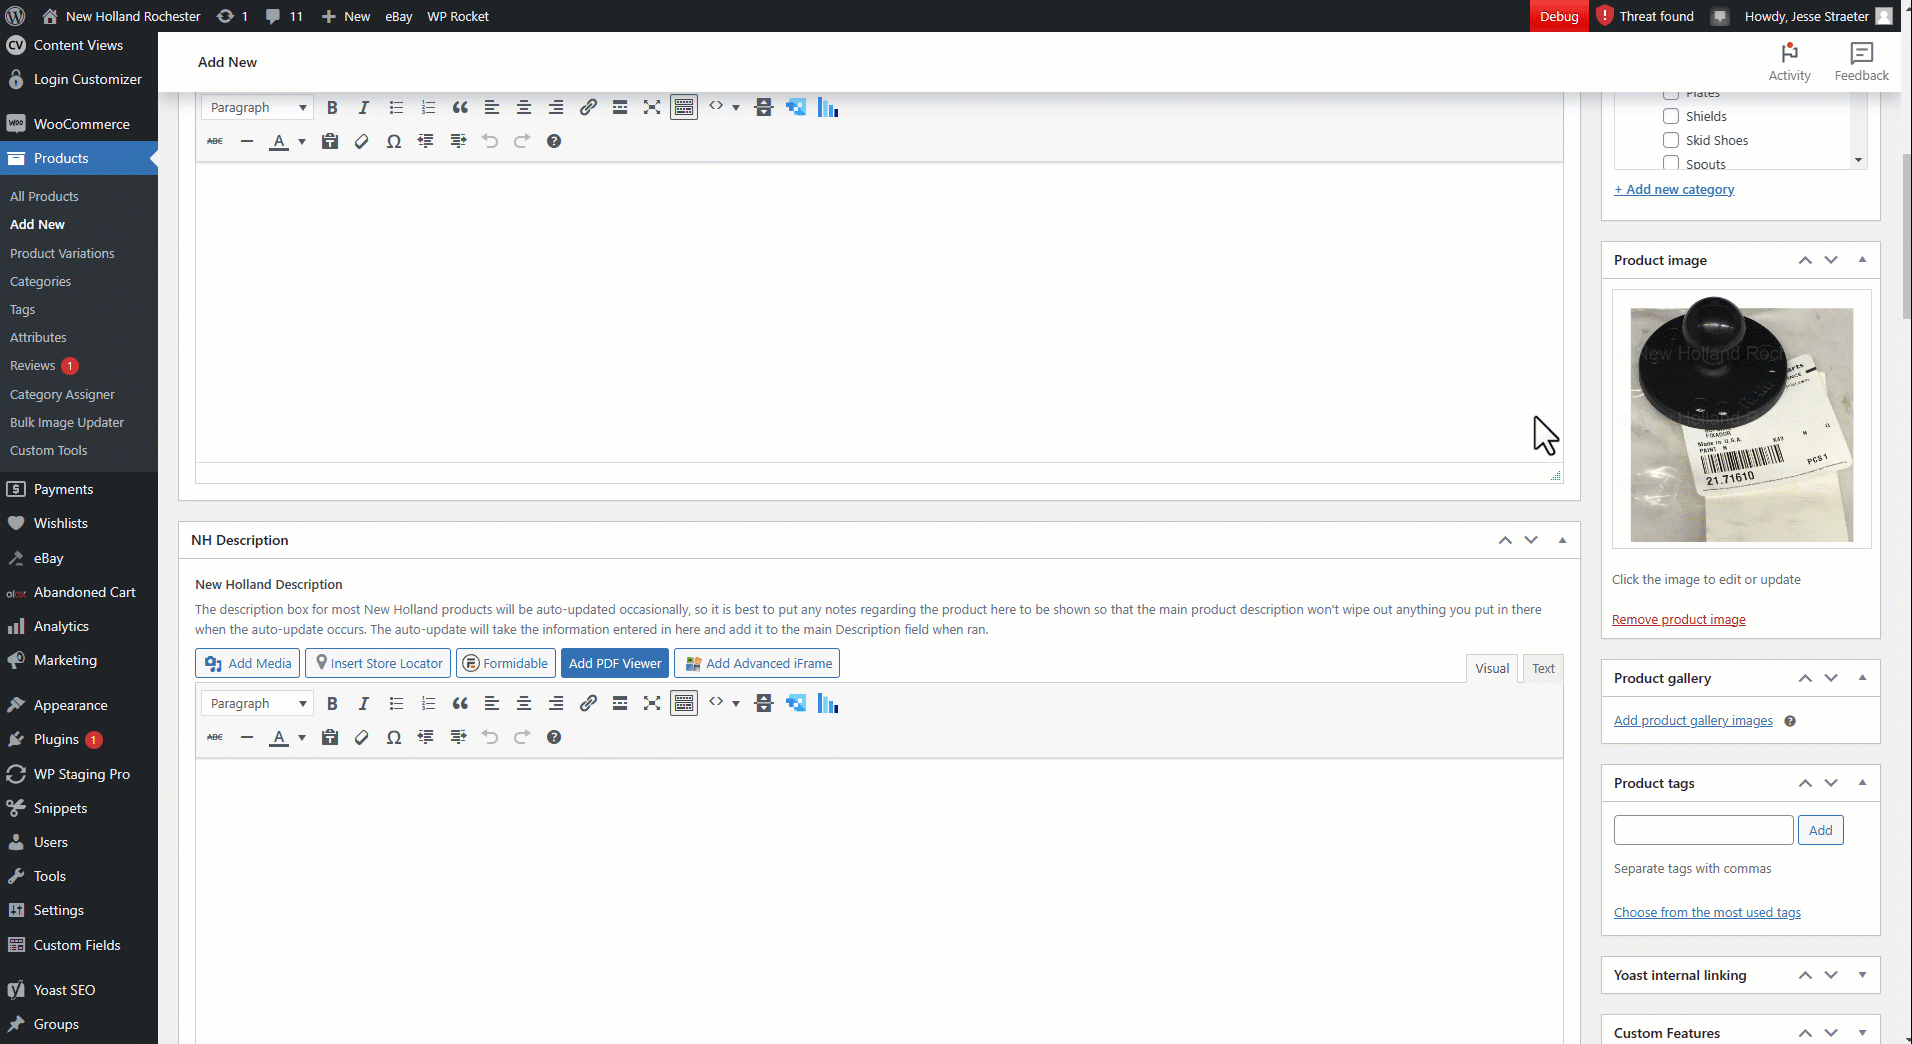
Scroll to the Product image section and upload the main product image for this product.
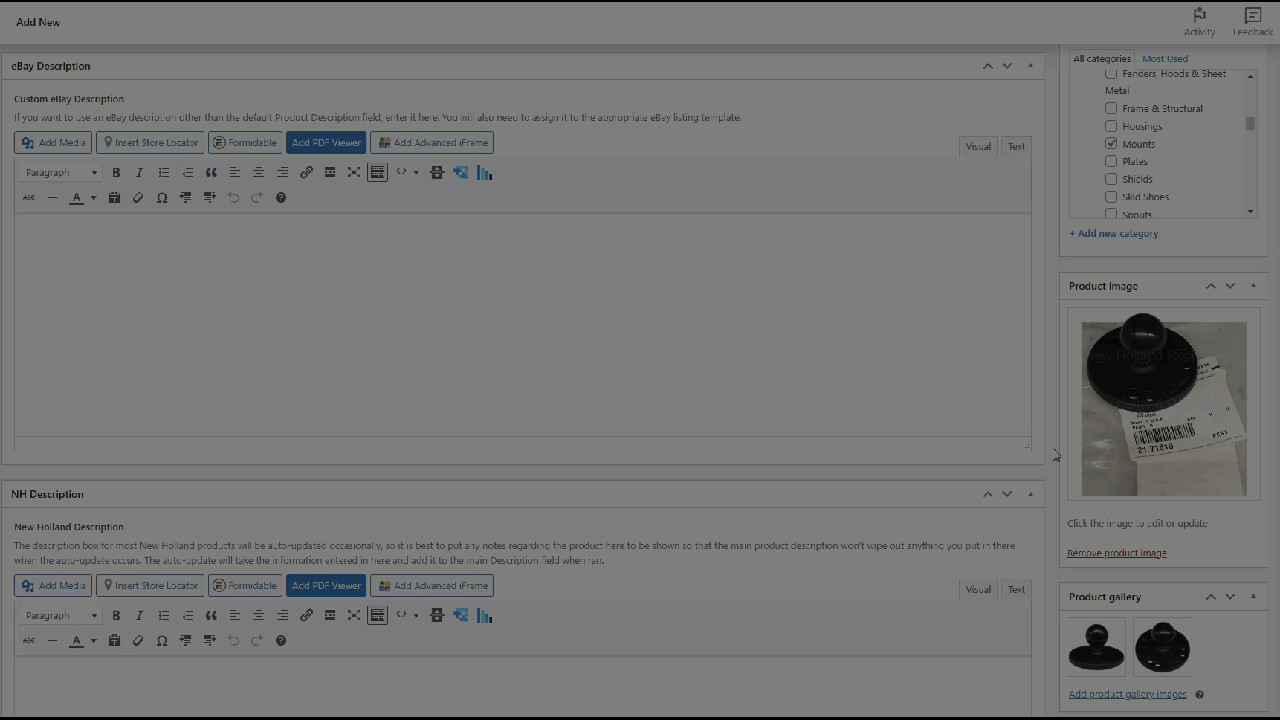
If you have additional pictures, scroll to the Product gallery section and upload the additional images there.
Scroll up and click on the Publish button.
Once the product is published to the website, it is live to view using the url address shown, also referred to as a permalink:
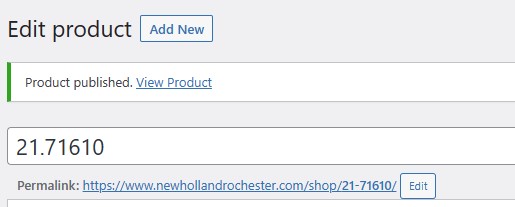
We started with making the title the same as the part number so that when we publish the post initially, the permalink shows up as newhollandrochester.com/shop/part#goeshere. It is very important this be the case, as all part pages on our site follow this structure.
Now that the page is published with the Permalink set as desired, we can edit the title to something more appropriate:
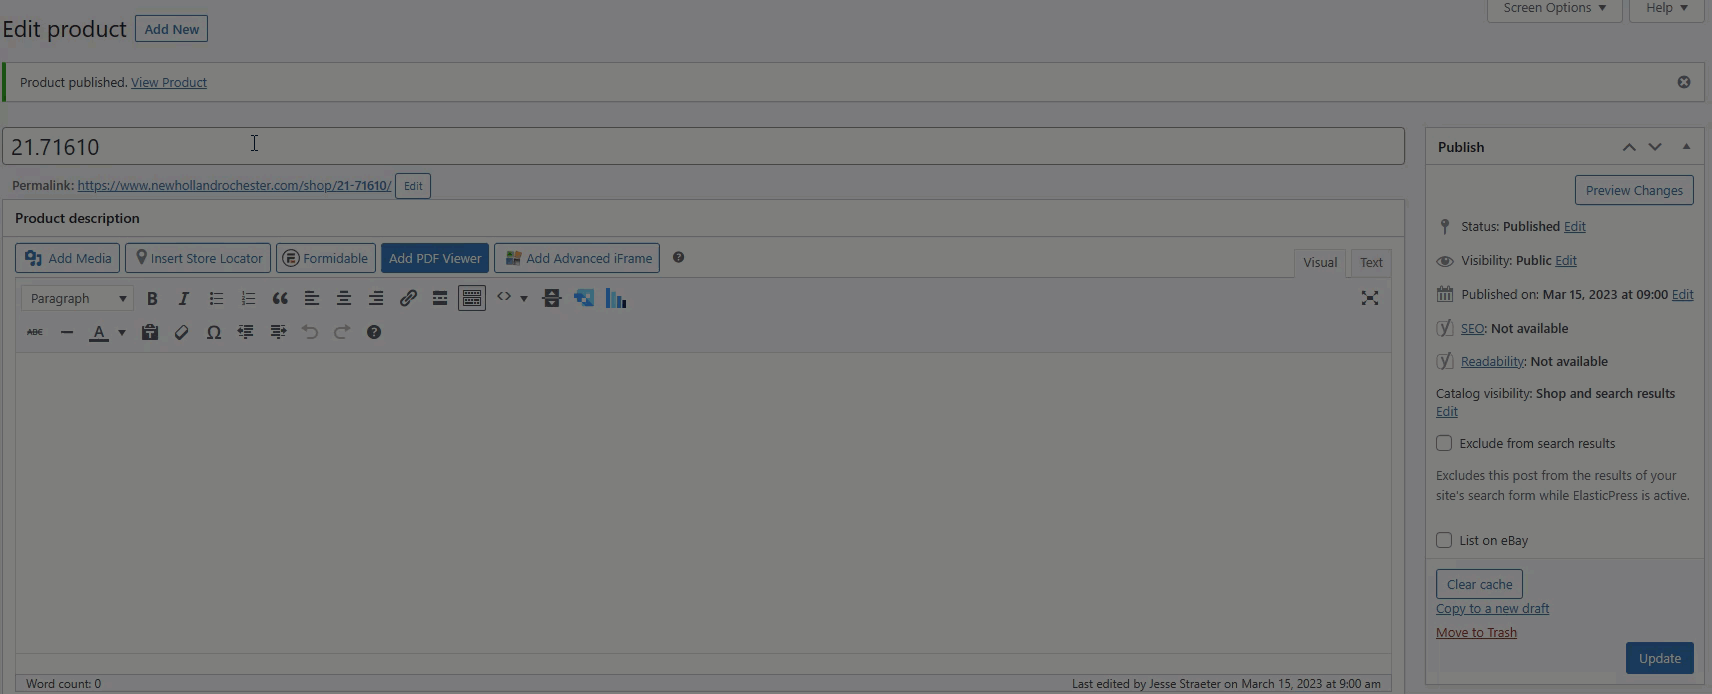
The title should be renamed using the following structure:
- Manufacturer ("Make") name
- Short Description of the product
- The text "Part #" (without the quotes)
- The part # itself
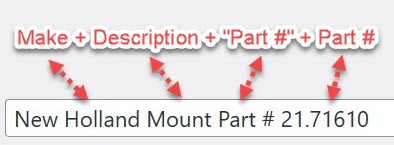
Use Proper Casing as shown here. Use the ampersand symbol (&) instead of the word "and" when needed to keep the title short. It is a good practice to keep the title short, yet descriptive as necessary. For instance, it may be appropriate to put dimensional information in the title like "New Holland 1" ID x 1.5" OD x 0.5" Thk Roller Bearing Part # 12345" in order to help a customer verify whether or not identify if this is the part needed when searching prior to clicking on the product page.
To add the item to eBay, check the List on eBay box, select the appropriate category, and click the Update button.
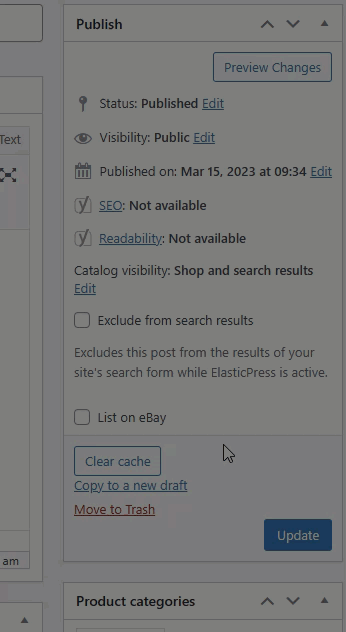
The category to select is generally determined by whether it is under 1lb (Small Item) or over 1lb (over 13oz) and the manufacturer. The product will still need to be Verified and Published to appear on eBay, which is outside the scope of this tutorial.
Here is a YouTube video showing a training session held reviewing the steps in this video: